Tag: technoPHOBE
-

Heather Costume: Dragons: Race to the Edge
The time has finally come for the long-awaited release of How To Train Your Dragon: The Hidden World! Our house has some huge fans of the series due to its gorgeous visuals, endearing characters, and a musical score that soars as high as any Night Fury. Netflix also released a series of original programs called…
-

Wild Garlic Soup
Making Wild Garlic soup with some ingredients dug up in the front yard.
-
Miniature Wargaming Series- 3 Painting the Insurgents
Welcome to the third installment of our wargaming series (focusing on Ambush Alley). Just a note before I begin about 15mm miniatures. There are tons of people out there who can make stunning, photo-realistic, perfect minis even at 15mm. 28mm minis can show a lot of detail and painting errors on the table top. However,…
-

Miniature Wargaming Series- 2 Making Terrain
This is a step-by-step tutorial on how to construct buildings for a middle-eastern town for 15mm modern wargaming.
-
Miniature Wargaming Series- 1 Building the Board
This will be a slight divergence from technologies vs. anti-technology type projects. I have been an avid player of games for a long time. Perhaps not everyone is aware, but there has been an renaissance of boardgames while the American boardgame market has been fairly dominated by “old favorites” like Monopoly, Stratego, Risk, and others.…
-

Making Acorn Flour and Muffins
I am trying to recall the exact moment when I set my mind to making food from acorns. It could have been any of the following moments: a) When reading “When Technology Fails” I wanted to take a stab at more self-sufficiencyb) When I listened to “Everybody Dance Now” I was inspired by “I’m just…
-
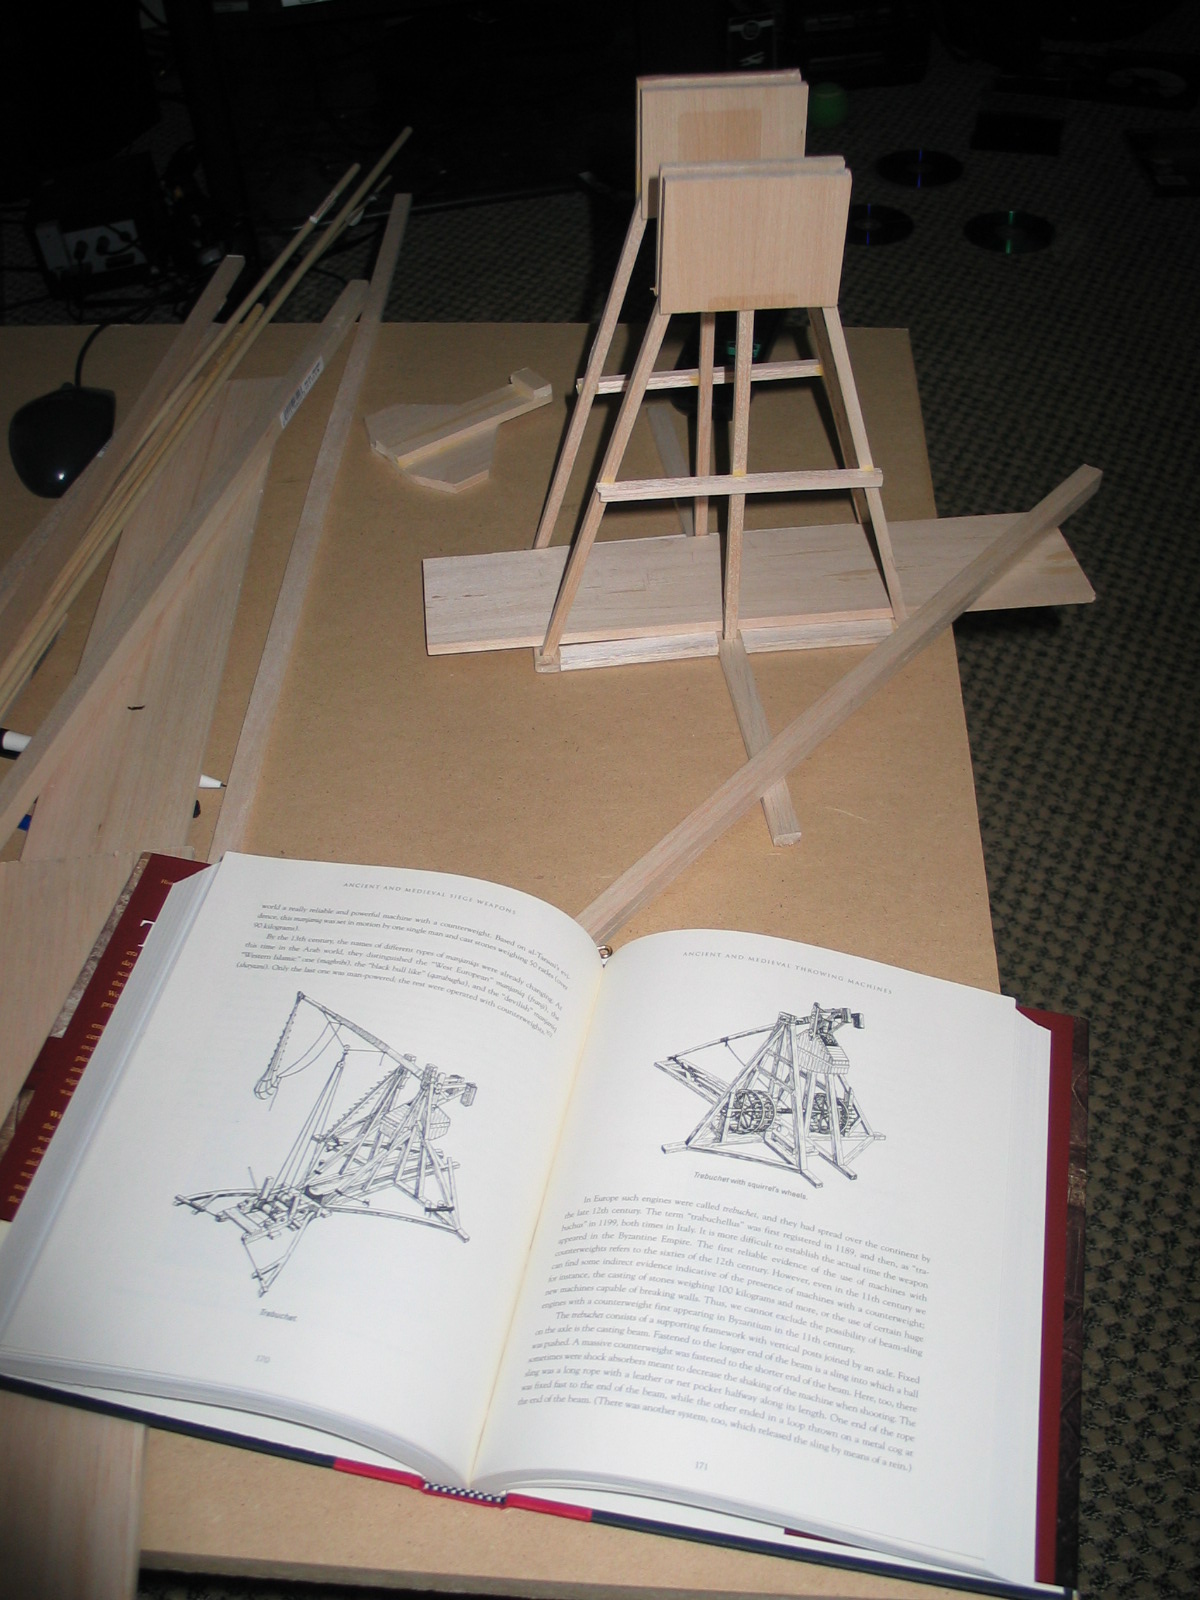
Tabletop Trebuchet
Tabletop Trebuchet The trebuchet was a siege weapon with an interesting and complex history. Where some weapons employed torsion of ropes or sinews (such as the ballista, catapult, onager, espringal, etc) the trebuchet was a great advance as it used a massive counterweight to store the potential energy. Nowadays, these machines are used to throw…
-

Weaving a Quiver
Why Weave? So you may rightly be asking yourself “What in this dude’s right mind does he want to have to do with weaving? Doesn’t he have anything better to do?”. A fair question. However, let me take a moment to defend myself. Really the catalyst of all this, and a lot of the technoPhobe…
-

Building a Longbow
I’ve long had an interest in constructing one of the simplest (yet most elegant) of weapons that has had a significant impact on history (Agincourt) . That is the longbow. What a simple machine that stores the force and hurls an arrow at impressive speeds. I did some “light” reading on the subject about the…