Tag: cosplay
Heather Costume: Dragons: Race to the Edge
by Steve Struebing on Feb.26, 2019, under Cosplay

The time has finally come for the long-awaited release of How To Train Your Dragon: The Hidden World! Our house has some huge fans of the series due to its gorgeous visuals, endearing characters, and a musical score that soars as high as any Night Fury. Netflix also released a series of original programs called Dragons: Race to the Edge (2015 – 2018) introducing a host of new characters and villains. In the new adventures, we continue to follow Hiccup and Toothless in their quest to keep dragons from the clutches of human trappers. One of our little fans has pulled yours truly into more than one episode’s viewing (understatement). When our oldest gal requested to be Heather this for Halloween, it was time to get some Razorwhip scale armor together to outfit the little lady.
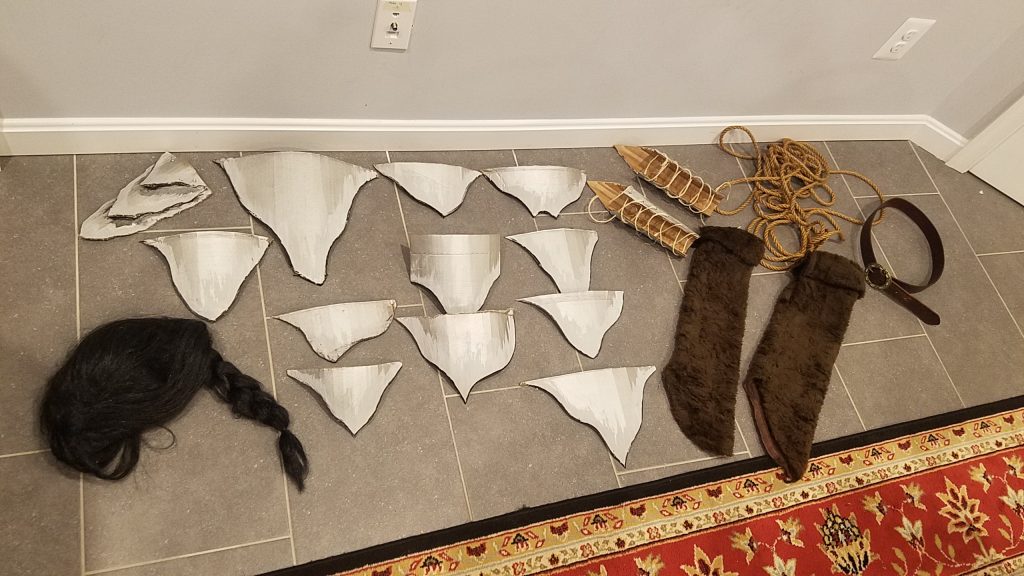
What You Need To Gather
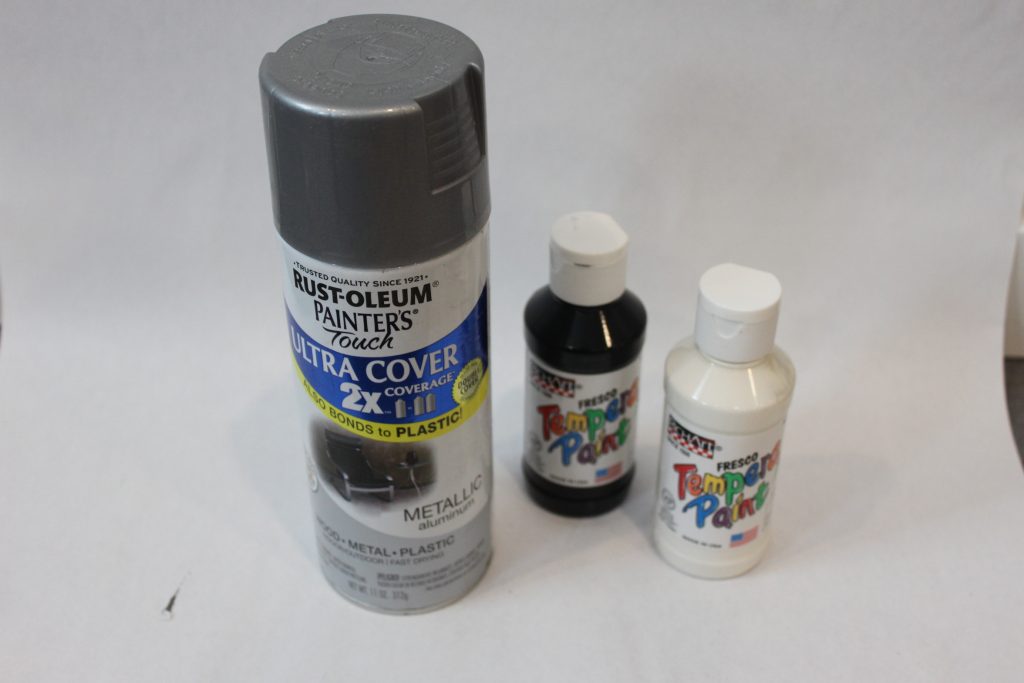
Materials For Building
- Faux Fur (for boot covers)
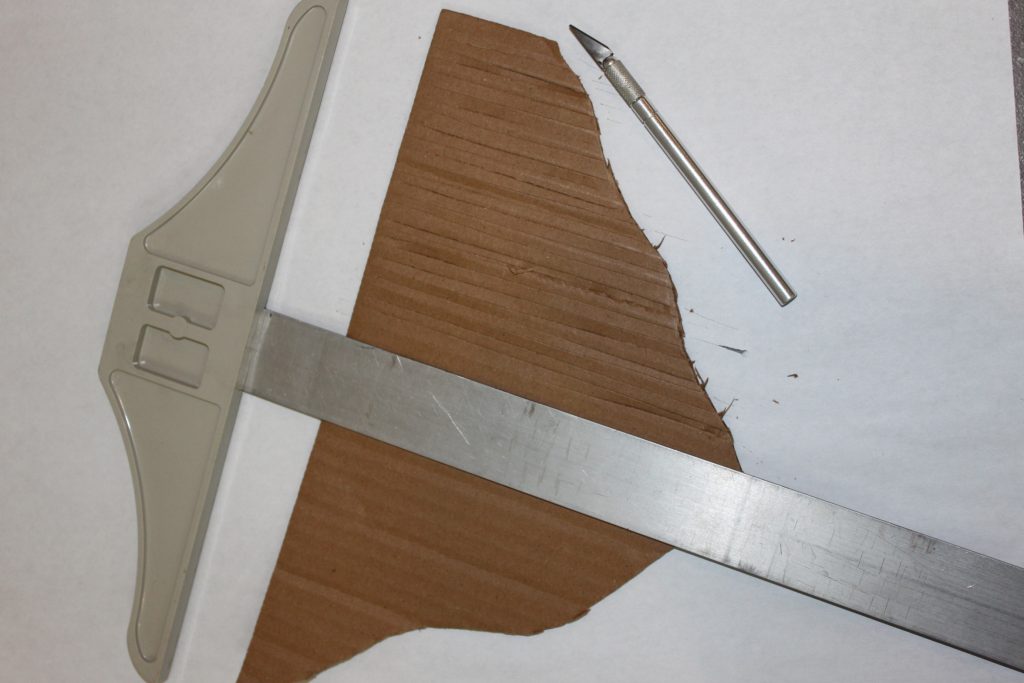
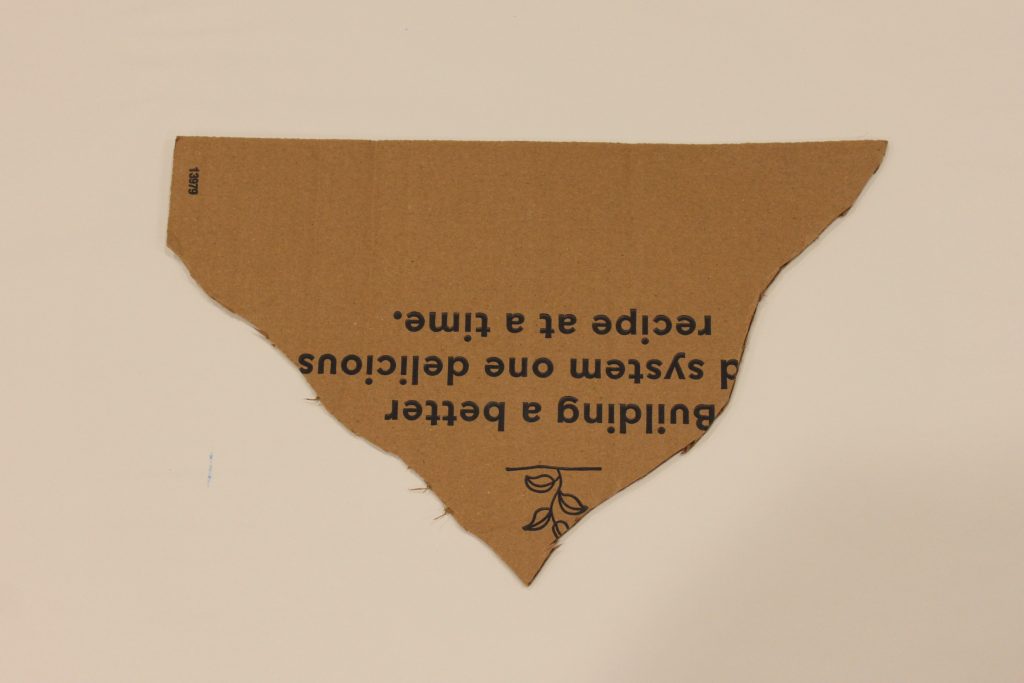
- Cardboard
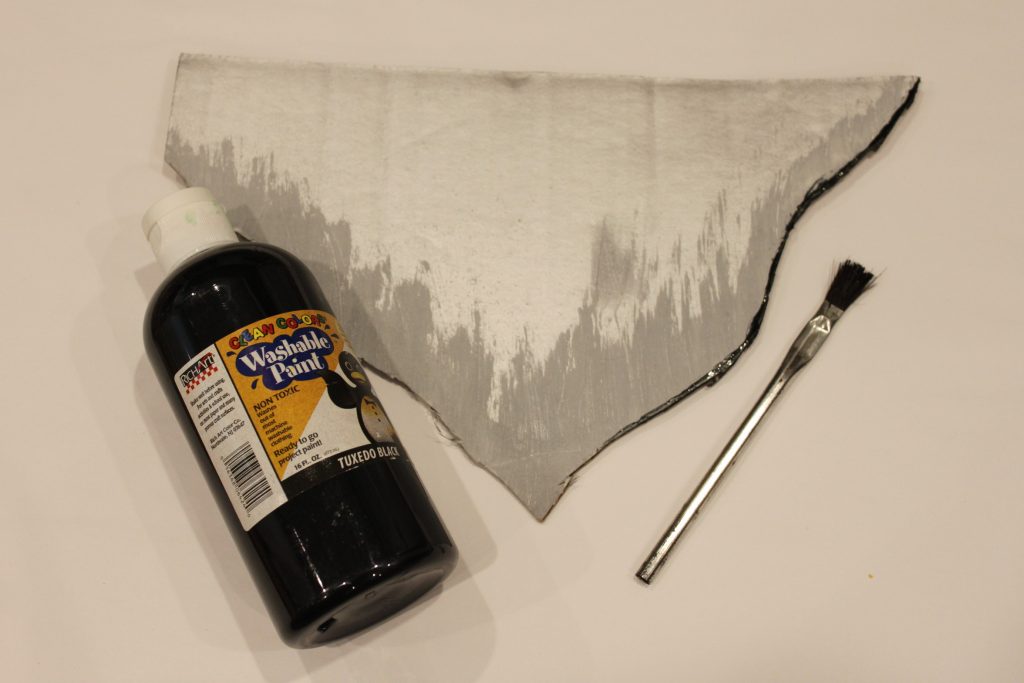
- Metallic Aluminum Spray Paint
- Black and White Tempera Paint
- Rope
- Twine / String
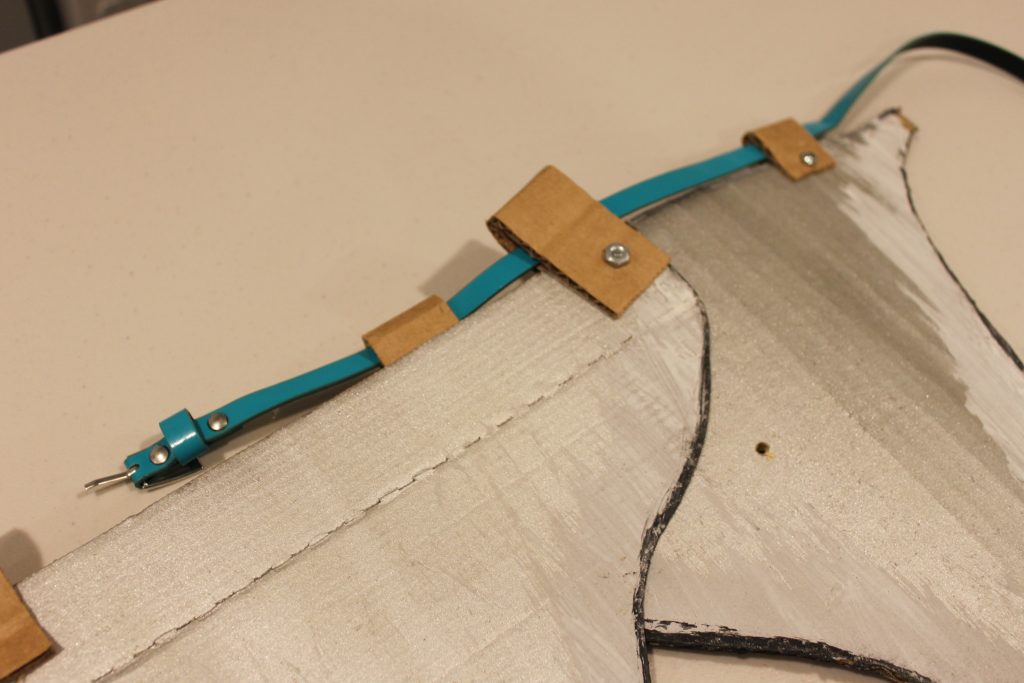
- Small Belt (for attaching plated skirt)
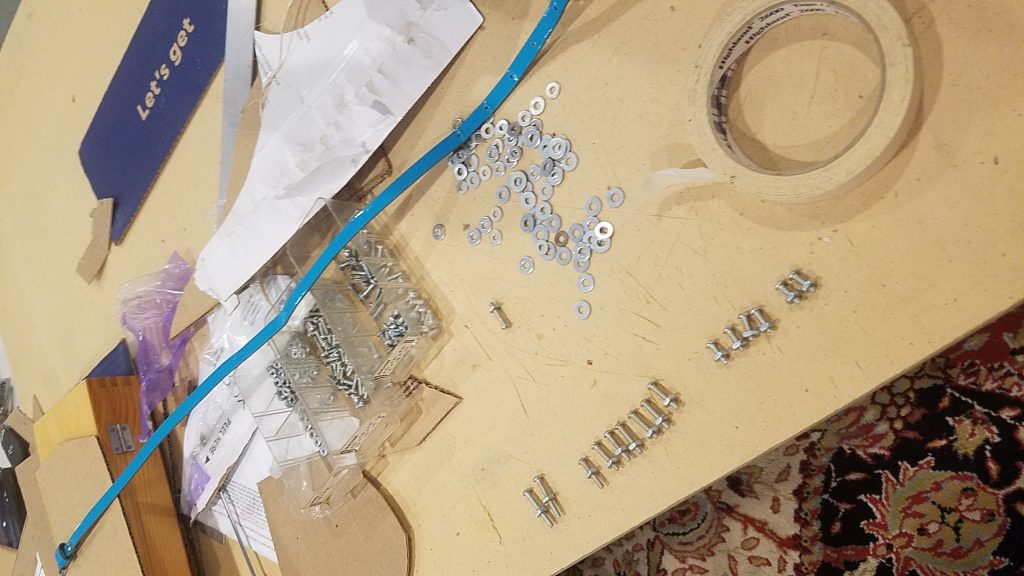
- Nuts, bolts/machine screws (8-32 work well), washers
Costume Elements Worn As Is
- Sequin skirt (representing Chain Mail)
- Thick leather belt
- Black wig (long enough to take signature thick braid
- Vest
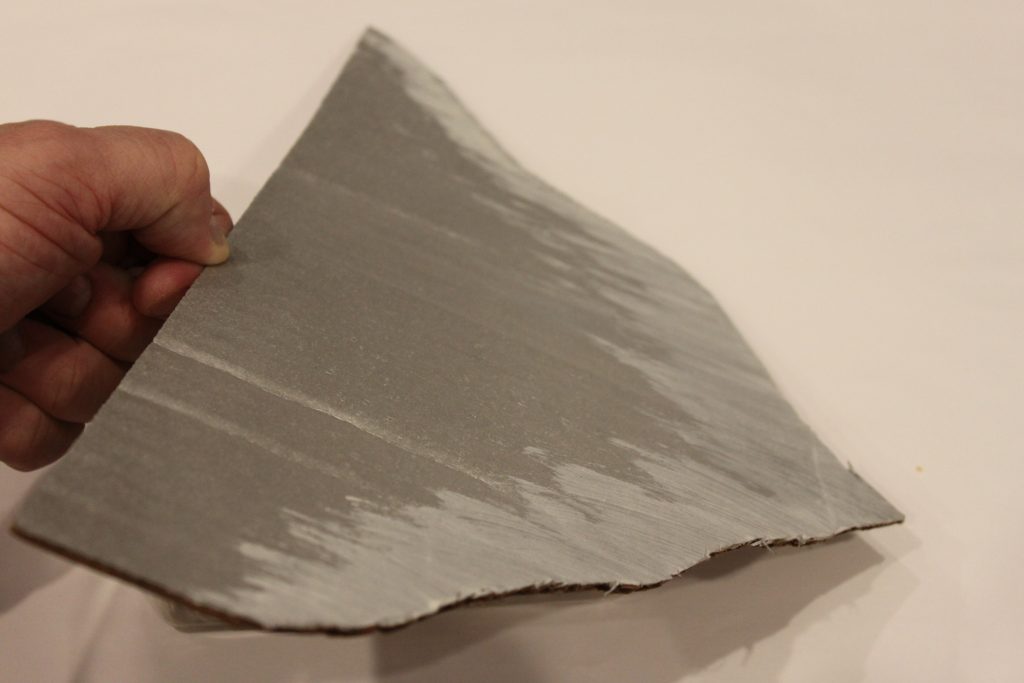
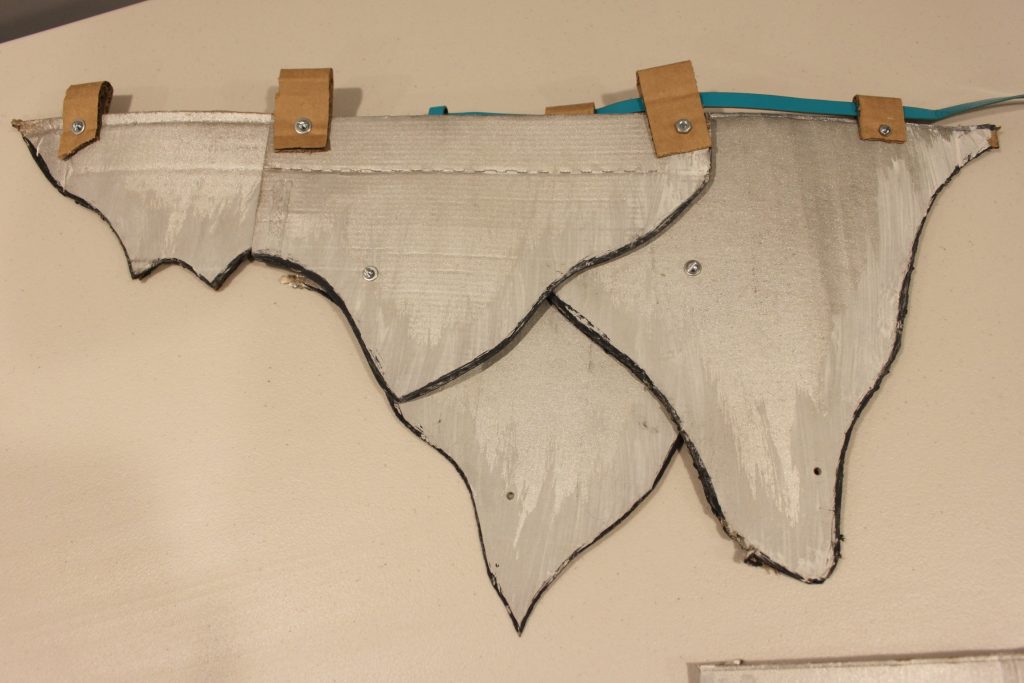
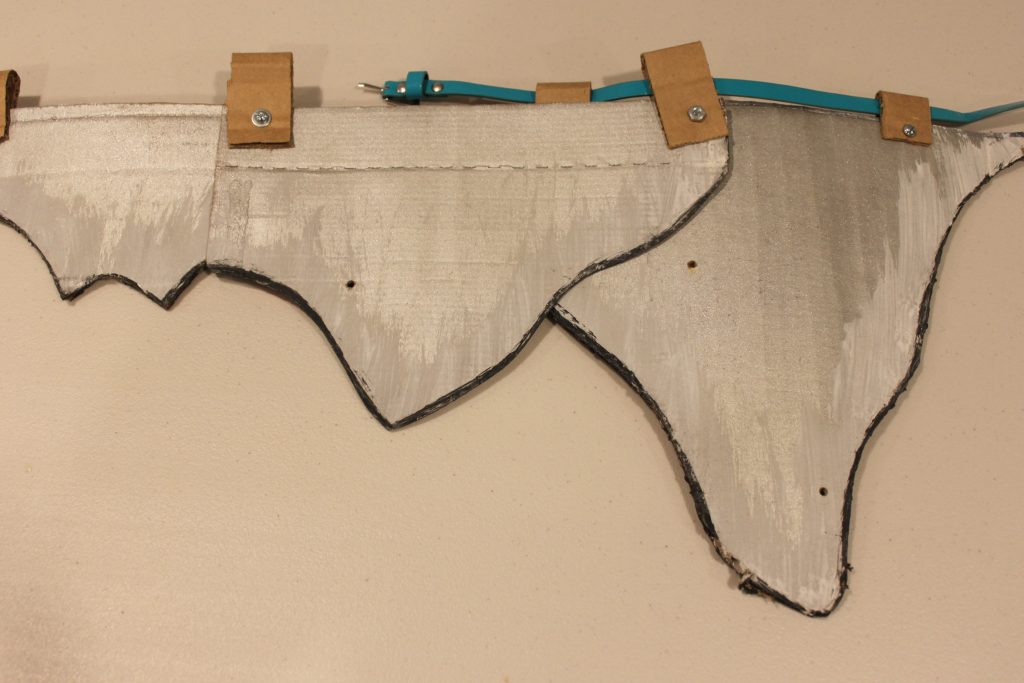
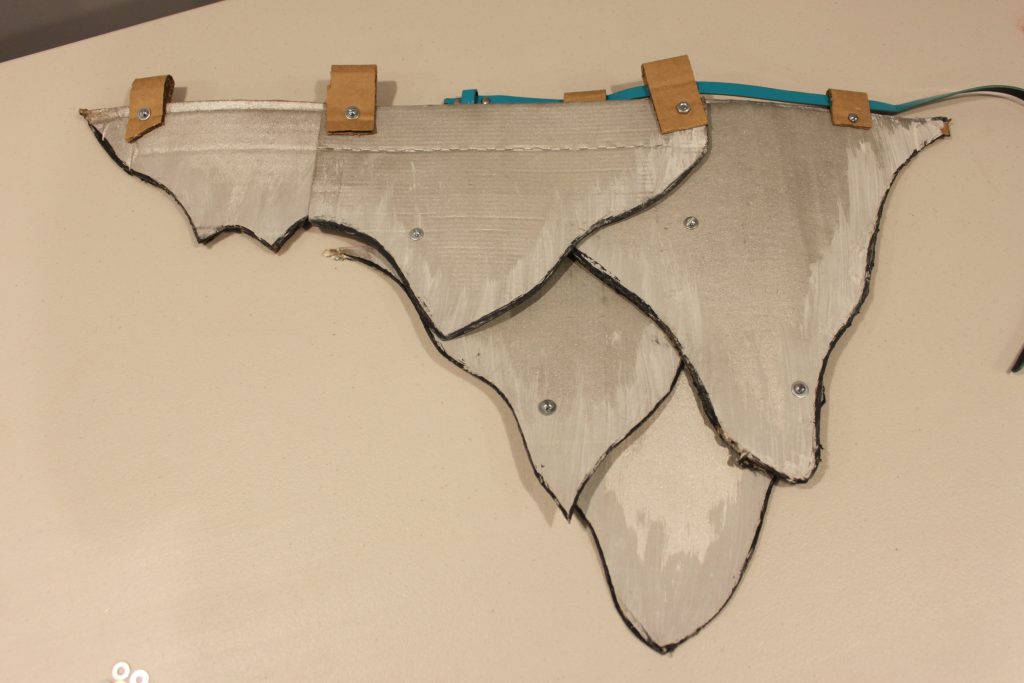
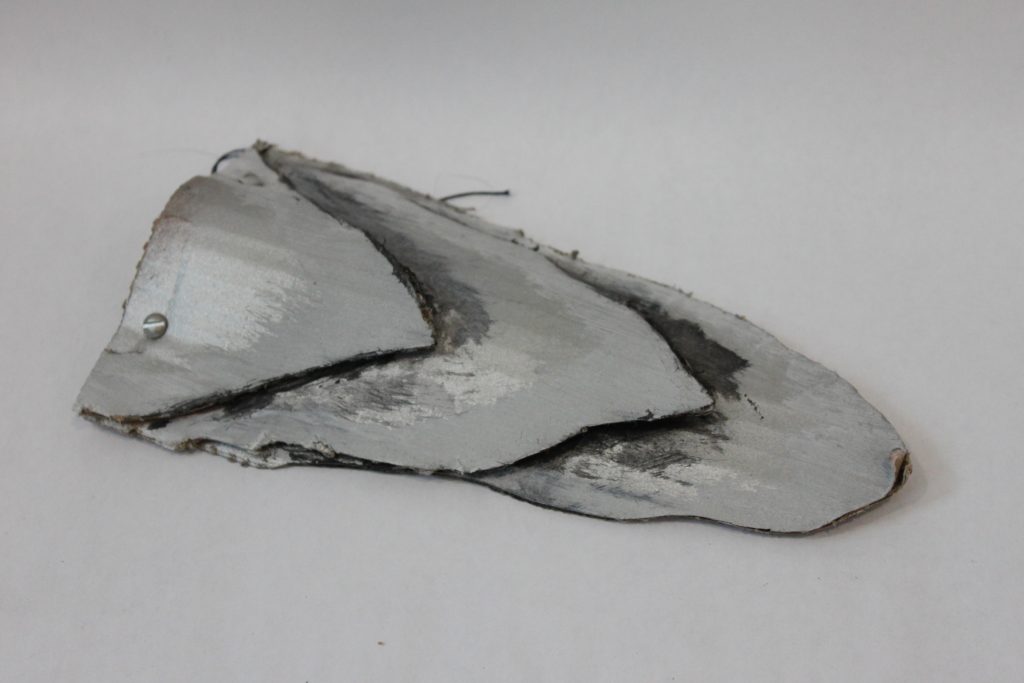
Armored Skirt: It’s Really A Matter Of Scale
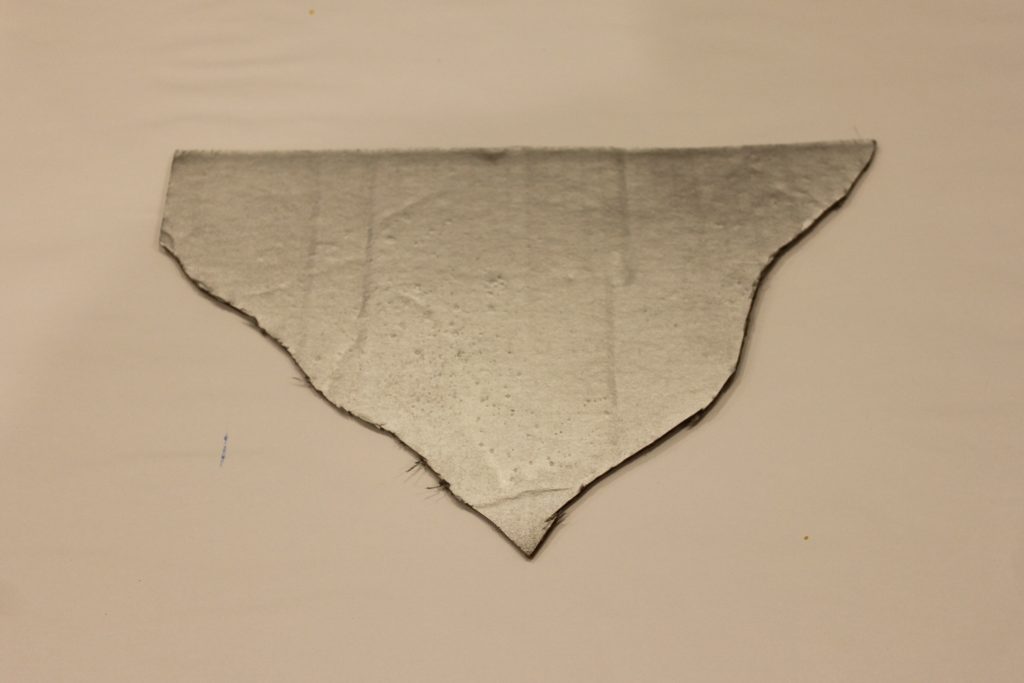
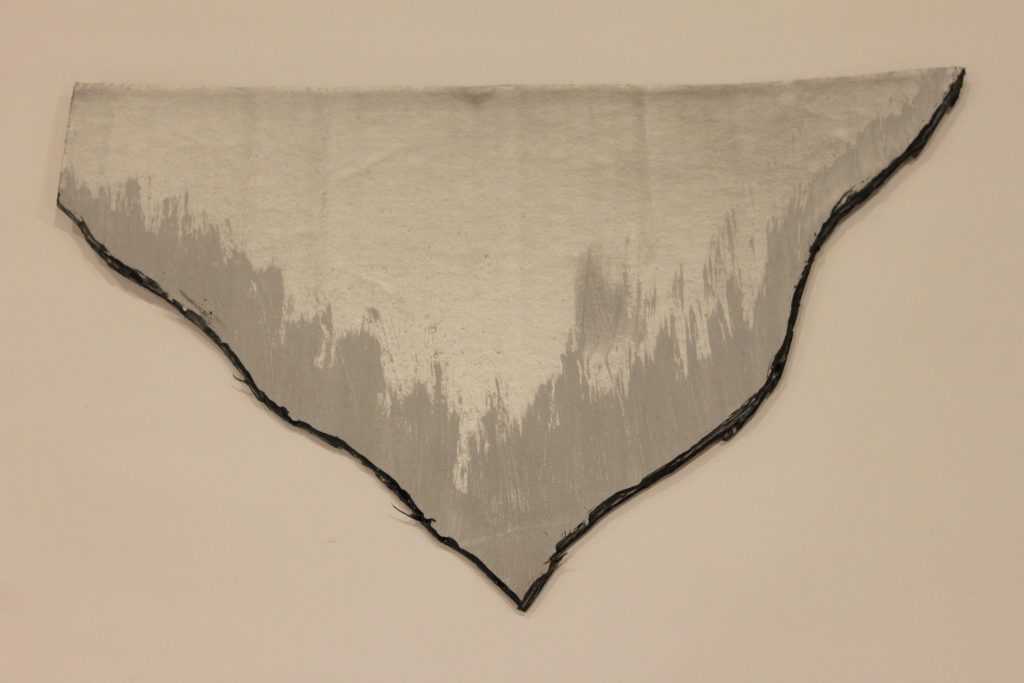
The Razorwhip dragon that Heather rides (Windshear) has a reflective silver scales with frosted highlights and black shadows. Scales of this armor form Heather’s plated skirt in an open fashion to the right, and heavy plating to the left side.

C’est l’armour
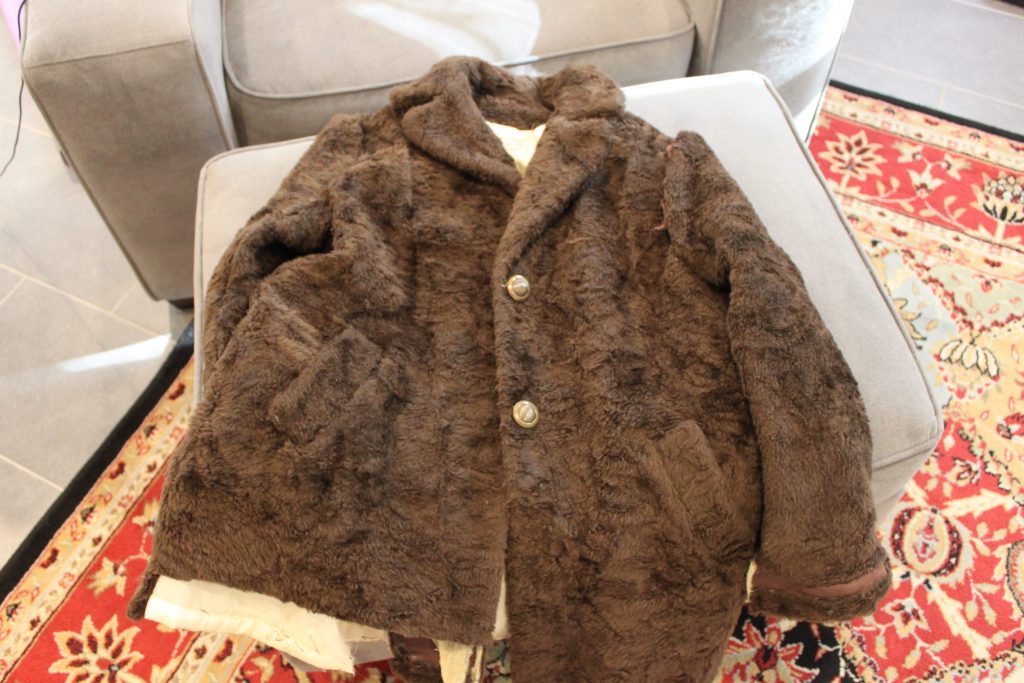
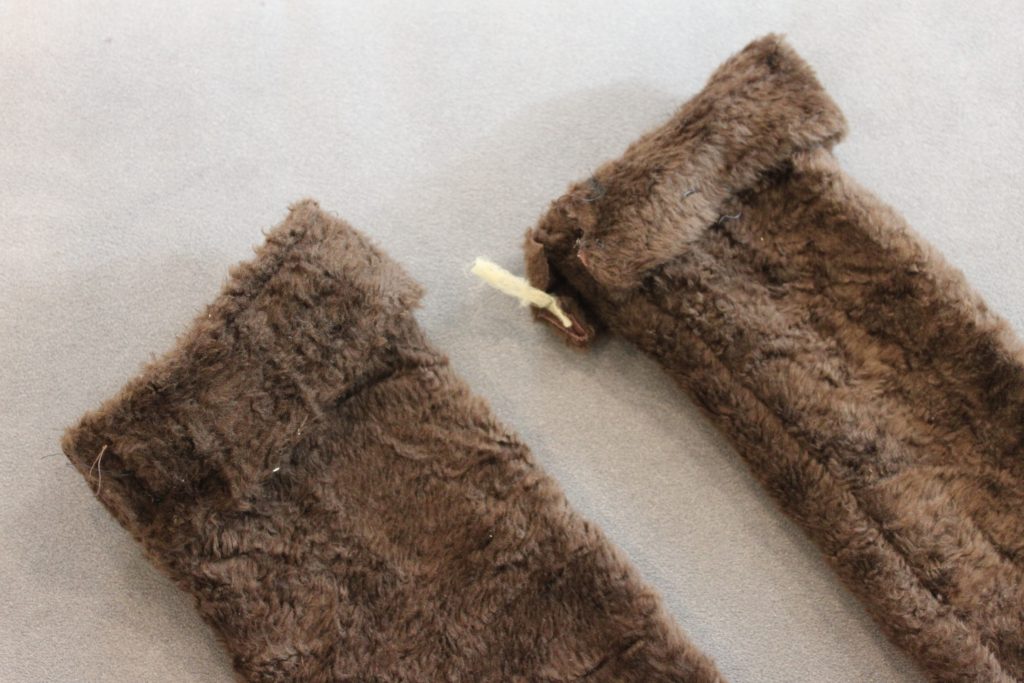
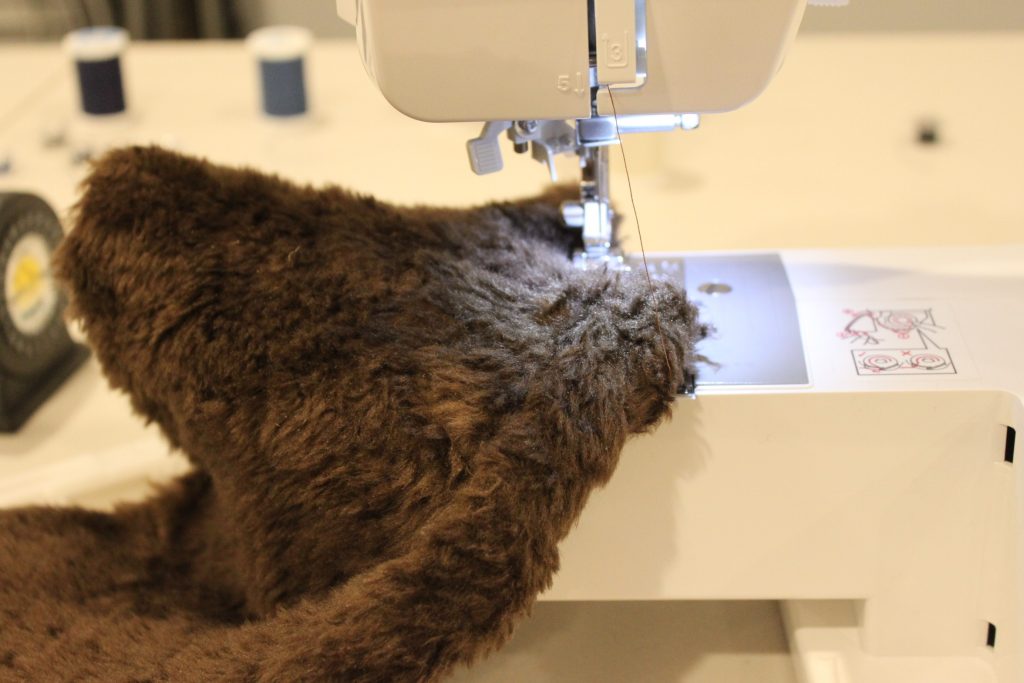
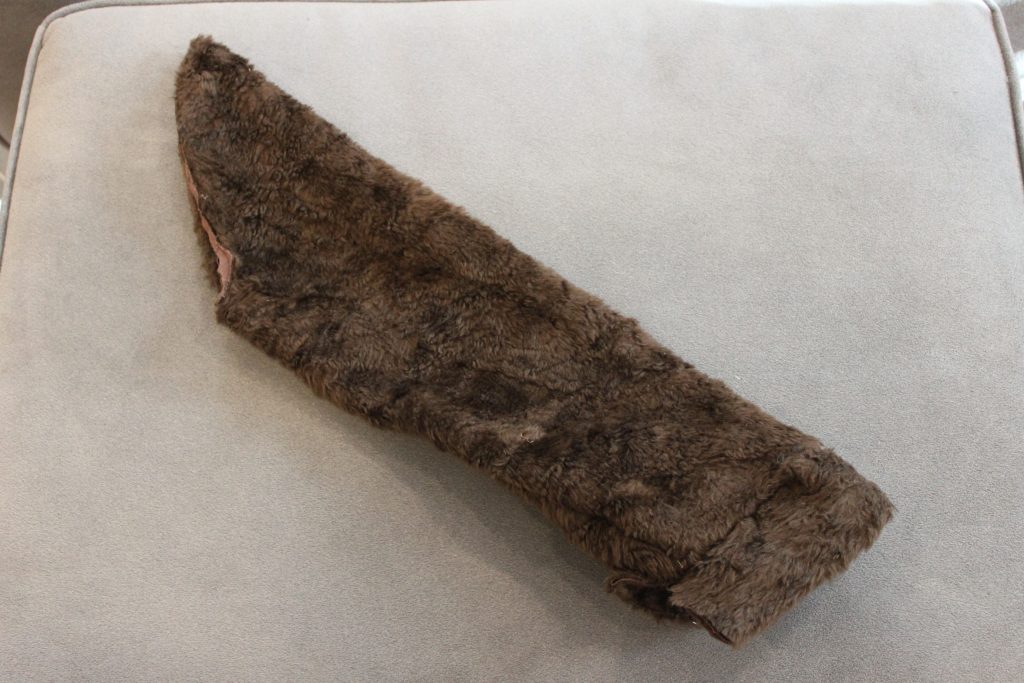
Boots: You’ve Got It Covered
I bought a used faux-fur coat, figuring I would be able to use the faux fur fer somethin’ else too. Cutting along the coat/sleeve seamline gets you 80% to a bootcover, and can serve as the pattern if you needed to do it from scratch. Using a sleeve “stock” did create bunching, so opening the long seam to adjust, or cutting a horizontal slit portion, and removing fabric to clear the bunched material and resewing into an angle for the foot may do the trip. This is up to your level of effort (I opened the seam and adjusted).
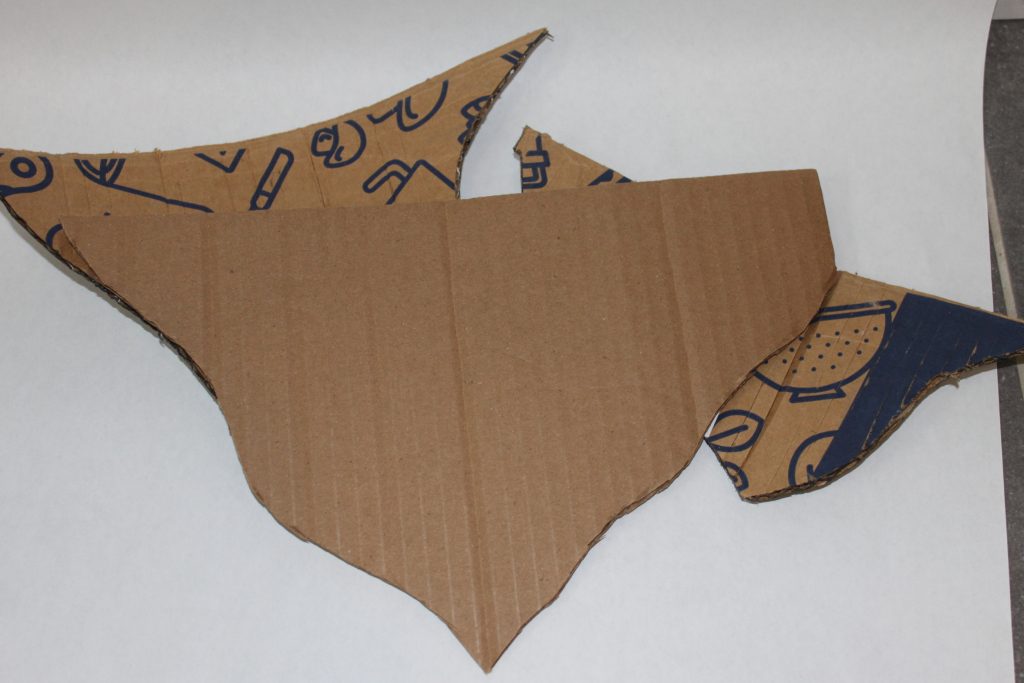
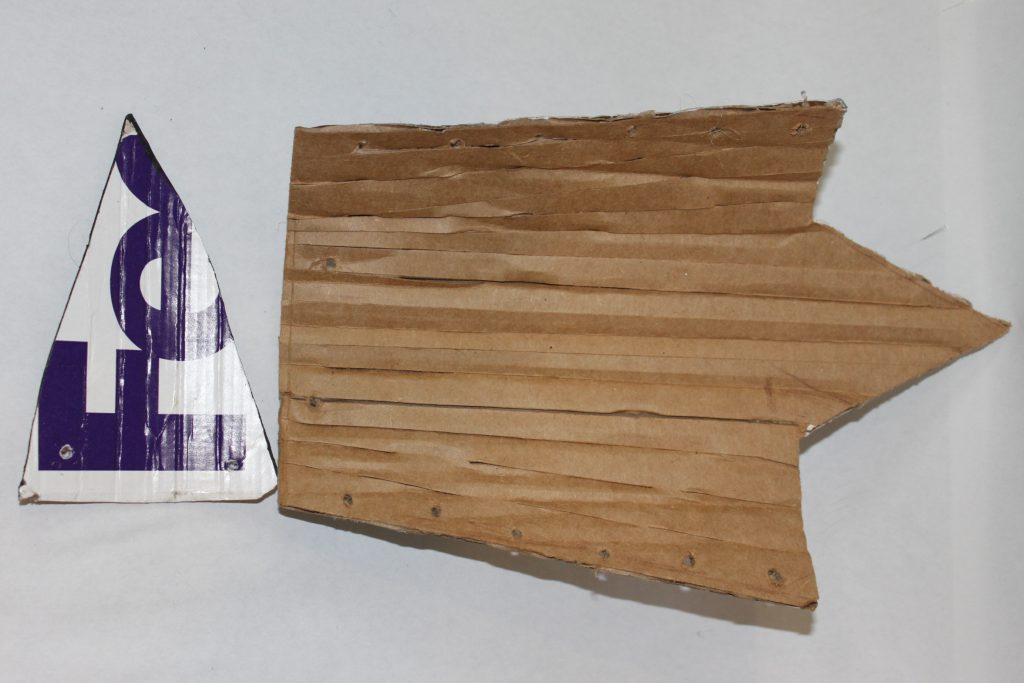
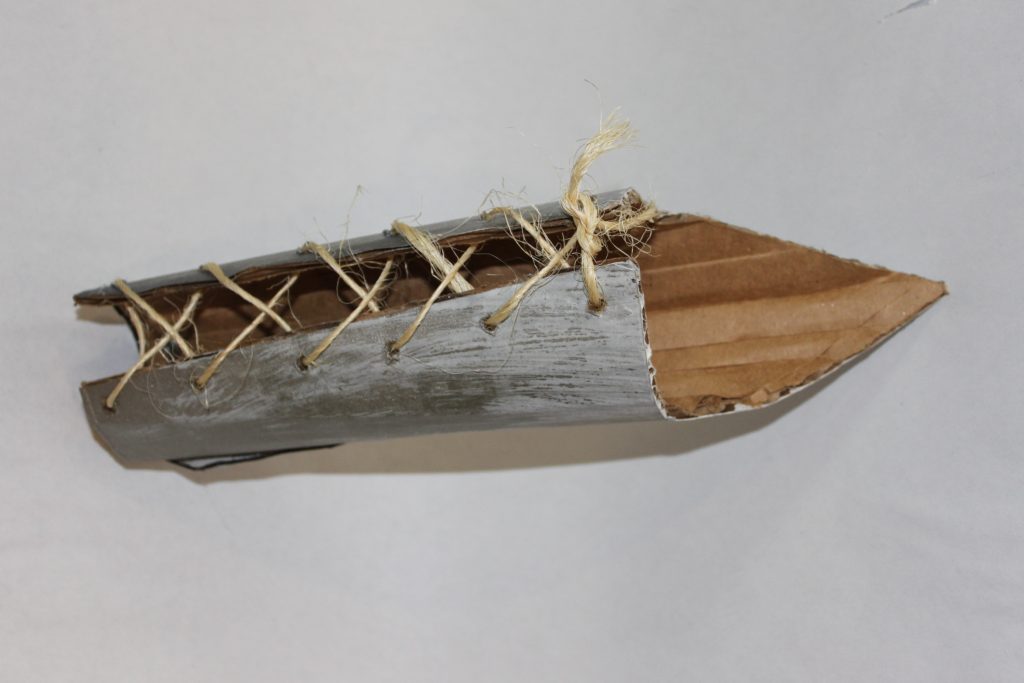
Throwing Down the Gauntlets
To get the gauntlets to flare from wrist to forearm, you need to cut and score in the pattern shown. They should fold to a close, and have a long point that comes from the elbow, while allowing your little Heather to bend her arm. You will also need a small decorative plate that will curve over the main gauntlet and give it depth.

The Shoulder Piece
Heather has a rather distinctive shoulder adornment over her non-hair shoulder.
Cut three long tapering plates that will stack, each smaller with a mostly-similar shape. Apply the same scoring and painting. Hold a small arch in the bottom most plate and apply the next plate over it with a pair of screws, nuts, and washers. The tension of the higher plate will actually hold the curve in place. See how the top plate pinches in and holds the curve.
This will attach by having a small twine loop that ties onto the machine screws and goes around the next.
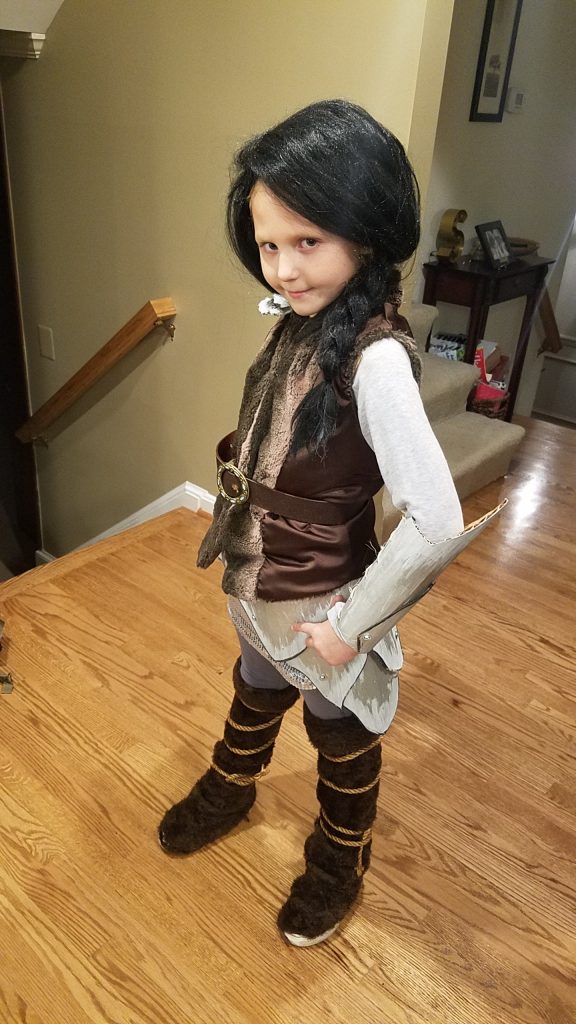
Heather Up!
Prepare you little dragon rider in her sequined skirt and long sleeved shirt ideally with a little collar to prevent the shoulder-plate string from scratching. Attach and adjust the plated belt. I actually assembled some more plates on the little warrior at this point. Boot covers on and then the shoes go underneath, (of course). The rope is looped around and tucked in the boots. Attach the shoulder plate with a sting looped around her neck. Add the finishing touches.. . vest, and the ever-so-cool braided hair.
There you have it! It was just a couple hours in an afternoon to assemble the costume, and it’s always fun to do some assembly on the most creative holiday of the year, in one tinkerer’s opinion. So, grab your trusty Razorwhip dragon, and have your little one take to the skies as Heather!
-
Where the WHY is what matters.
www.twitter.com/polymythic This DIY blog is centered around modern technology (hacking, electronics, software) and primitive tech/skills (tools, techniques, including ancient technology). Focus will be on instruction and exploration of projects in these areas.

Wearing the haptic headband