Tag: ancient
-

Making Acorn Flour and Muffins
I am trying to recall the exact moment when I set my mind to making food from acorns. It could have been any of the following moments: a) When reading “When Technology Fails” I wanted to take a stab at more self-sufficiencyb) When I listened to “Everybody Dance Now” I was inspired by “I’m just…
-
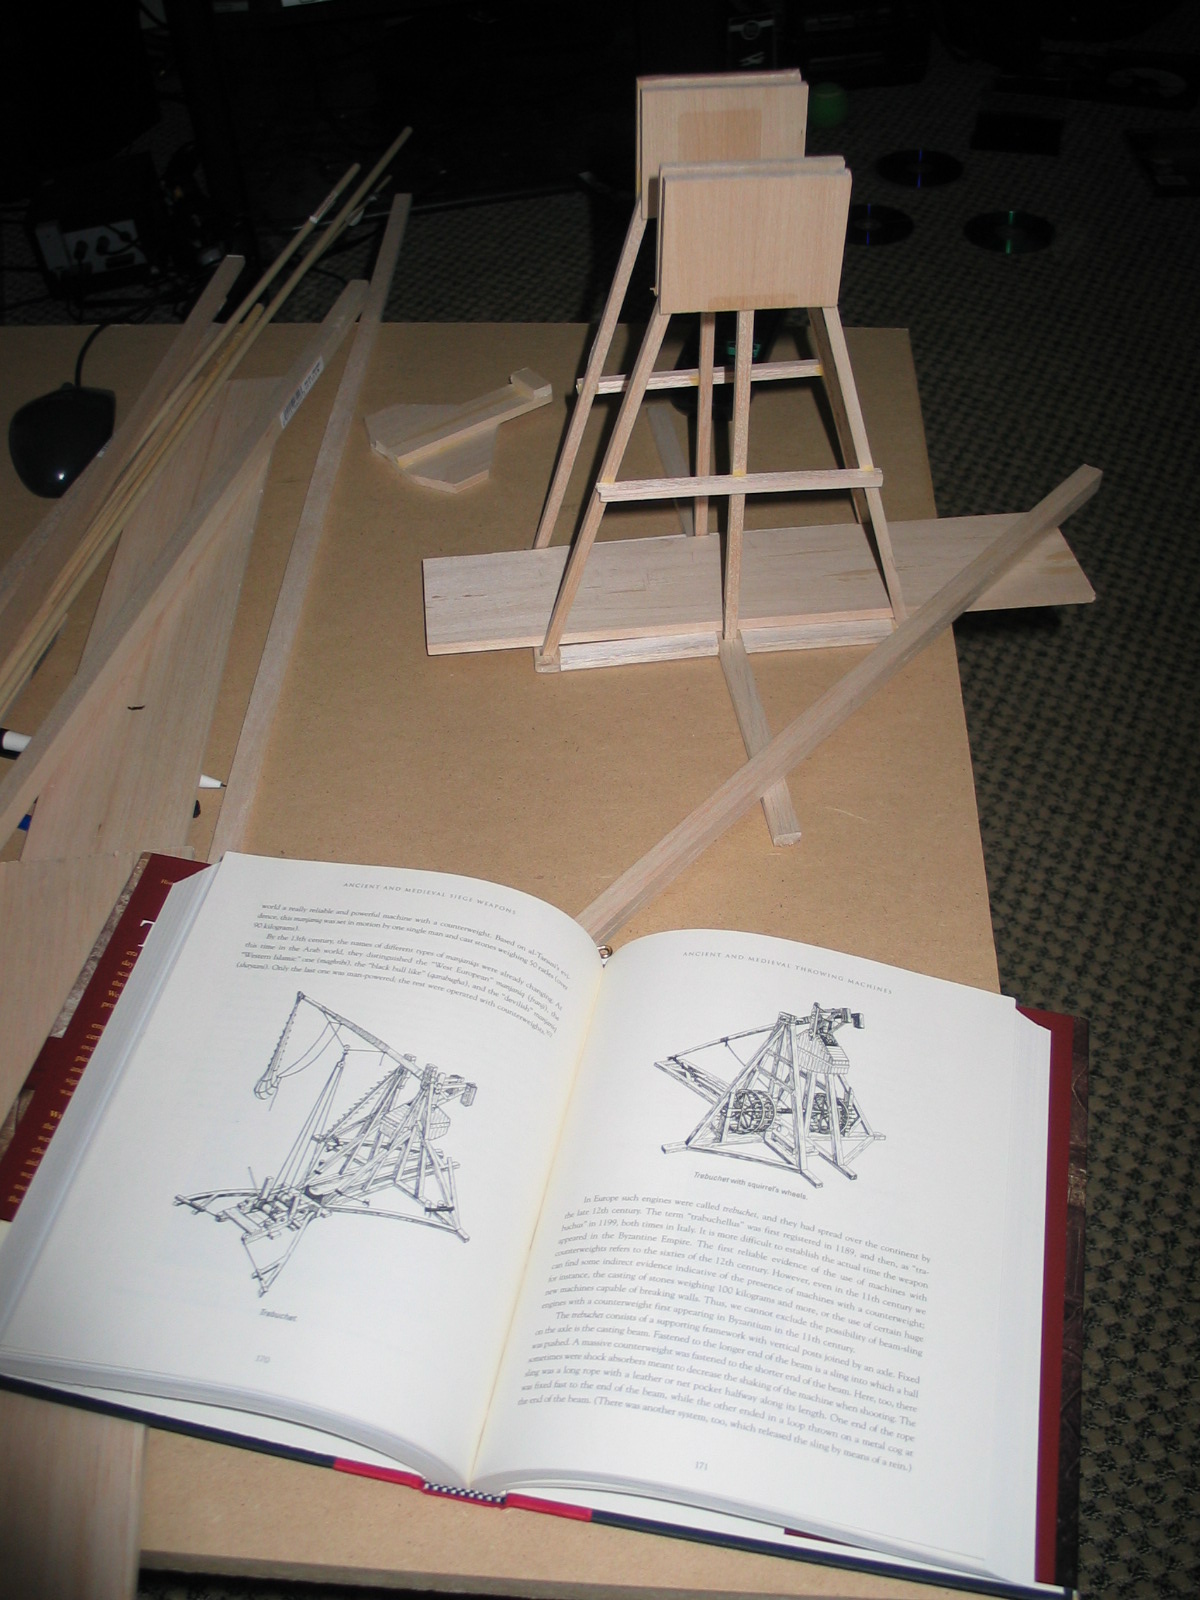
Tabletop Trebuchet
Tabletop Trebuchet The trebuchet was a siege weapon with an interesting and complex history. Where some weapons employed torsion of ropes or sinews (such as the ballista, catapult, onager, espringal, etc) the trebuchet was a great advance as it used a massive counterweight to store the potential energy. Nowadays, these machines are used to throw…